In this article you will see Arduino LCD Program with Interfacing Diagram. Liquid Crystal Display (LCD) is now being used in every electronics field either it is analog or digital. To learn how LCD works with Arduino, one should know the basics of LCD. Commonly used LCD has 8 bits.
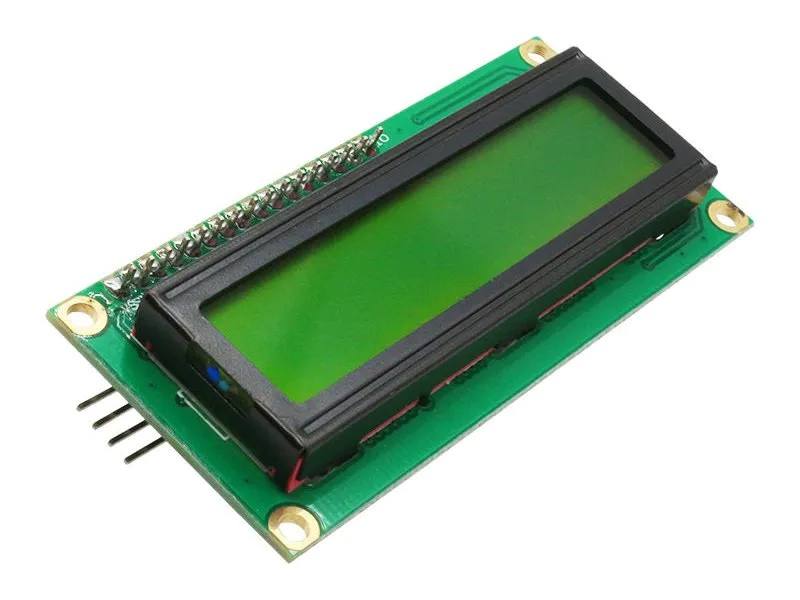
Standard 16×2 LCD Display:
There are build-in functions in Arduino software for LCD to display something on LCD, to clear, to move data. Interfacing LCD module to Arduino is very easy, here you will learn how to interface LCD with Arduino.
Components Required:
- Arduino UNO R3 board
- Variable Resistor 10k
- Resistor 220 ohm
- 8-bit LCD
- Mini breadboard
- Few wires & Cables for power
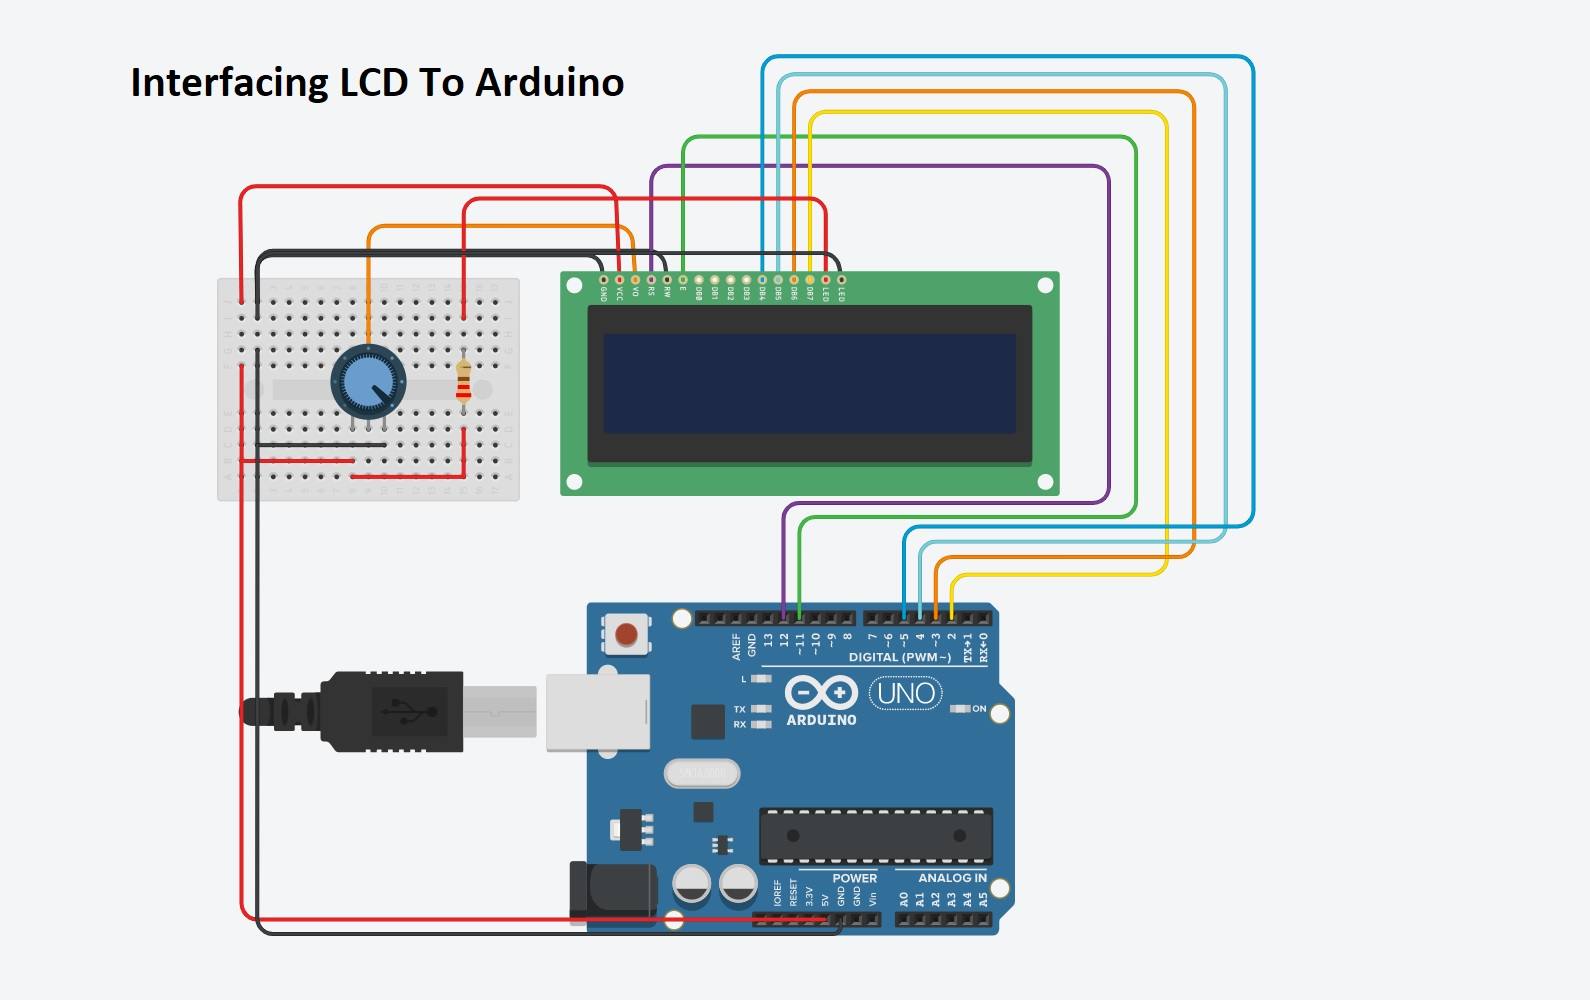
Circuit of LCD Interfacing Arduino:
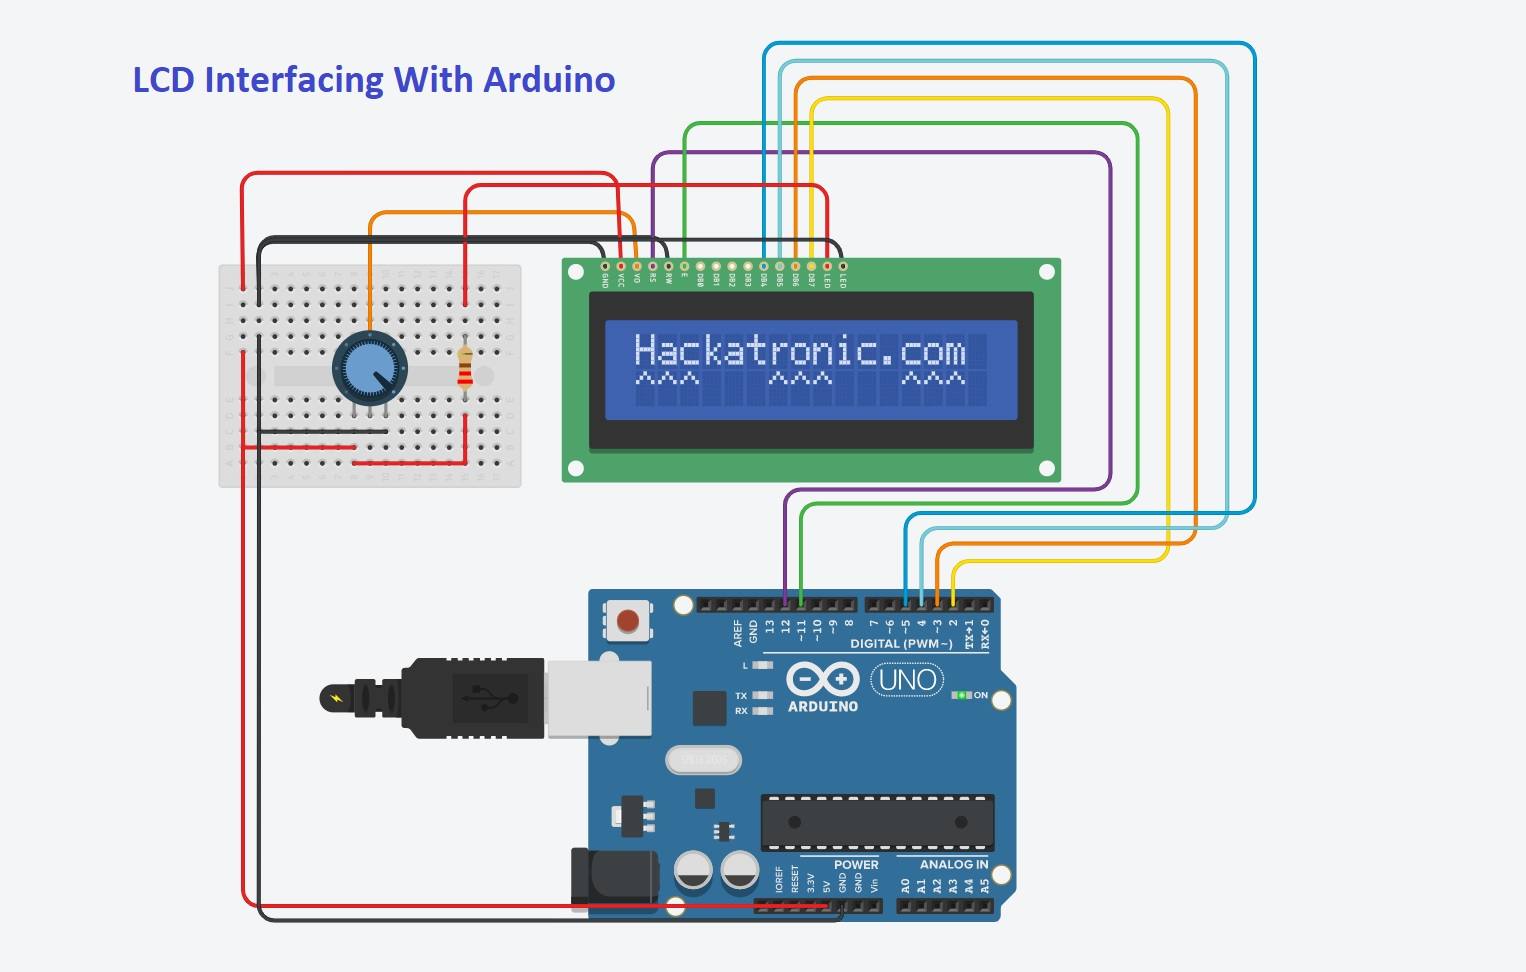
Circuit connections:
- RS pin of LCD connects to digital pin 12 of Arduino
- Pin E (Enable) connected to digital pin 11
- Pin D4 connects to pin number 5
- D5 pin connects to digital pin 4
- Pin D6 connects to digital pin 3
- Pin D7 connects to digital pin 2
- R / W pin connected to the GND
- Pin 1 and pin 4 connected to GND
- Pin 2 connected to + VCC
- 10 K Ohm potentiometer controls brightness of panel
- Second pin connected to pin 3 of the LCD
- First pin of potentiometer connected to + VCC
- Third pin of potentiometer connected to GND
- The first and third pins of the potentiometer can be interchanged.
Working by Code:
#include <LiquidCrystal.h>
int i = 0;

LiquidCrystal lcd (12, 11, 5, 4, 3, 2);
In the above instance LiquidCrystal object called LCD is created in which
the LCD pins connected to the Arduino digital outputs are shown.
void setup () {
To set the number of rows and columns of lcd
lcd.begin (16, 2);
printed on
lcd.print (“Hackatronic.com “);
}

void loop () {
// place the cursor on column 0 and line 1
//lcd.print (micros () / 1000); <= this will print count
lcd.print(“^^^”);
lcd.print(”   “);
delay(100);
}
Arduino LCD Program:
#include <LiquidCrystal.h>
int i = 0;
LiquidCrystal lcd (12, 11, 5, 4, 3, 2);
void setup () {
lcd.begin (16, 2);
lcd.print (“Hackatronic.com “);
}

void loop () {
// print the number of seconds since the last reset
//lcd.print (micros () / 1000);
lcd.print(“^^^”);
lcd.print(”   “);
delay(100);
}
Tinkercad simulation
Here is the Tinkercad simulation you can see edit and modify the above circuit according to you also It has a code section.
×
